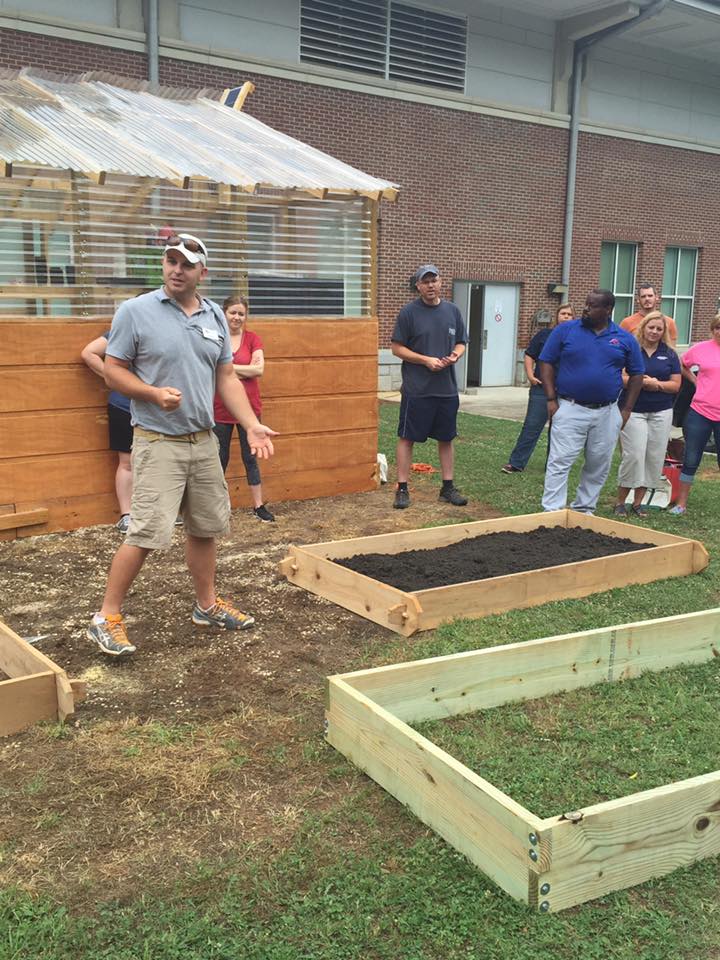
Josh Fudor, UGA ANR Agent in Cherokee County, developed this simple raised bed design that is perfect for community or school gardens. This is the plan that we use in our teacher training workshops and the teachers appreciate the simplicity.

Gardening in raised beds is an easy way to get started growing great vegetables. The benefit of raised bed gardening includes: ease of management, prevention of soil compaction, better drainage, longer growing season, and ease of soil improvement.
Raised beds can be constructed out of just about any material and there are a number of kits available that are quick and easy to assemble. With a few tools and minimal time commitment the ambitious gardener can construct their own and save money.
Materials List
|
Qty. |
Material |
Cost |
|
3 |
8’ 2”x10” Boards (cost will vary depending on choice, i.e. cedar, pine, treated) We will use treated pine for this example |
37.00 |
|
16 |
1⁄4” x 4” Galvanized Lag Screws |
14.50 |
|
16 |
1⁄4” zinc plated washer |
1.90 |
|
1 |
Cubic yard or 27 cubic feet of soil/compost mixture |
40.00 |
|
* Prices may vary depending on location and if delivery is required |
Total: $ 93.40 |
Tools Needed
- Saw-hand or electric powered
- Speed square
- Tape measure
- Drill
- 1⁄4” socket driver bit
- 3/16” drill bit for pre-drilling
- Safety Glasses and gloves
Step One:
Choose the straightest boards with little to no knot holes. This will make things much easier and make for a longer lasting finished product.
Step Two:
Cut one of the 8’ 2×10” boards in half. 8’ boards should 96” long but be sure to measure first just to be safe.
Step Three:
Make a notched cut out of the ends of all the boards. These notches provide added stability to the bed without the use of additional reinforcement. A 10” board is actually 9 1⁄4” wide so the mid-point of the board is 4 5/8” a cut 1 1/2” deep is needed to ensure the boards are flush at the corners.
The graphic below shows what the cuts should look like on all 4 of the boards when done, note that the notches are cut out on opposite sides of the board, this should be done on all boards.

Step Four:
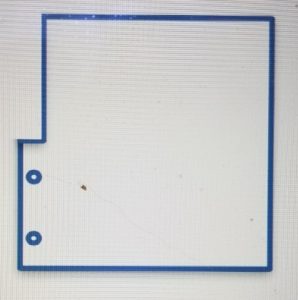
Once all 4 boards have been notched on opposite sides of the board, lay them out to form the box. If cuts were made to proper measurements the boards should fit together smoothly. Pre-drill 2 holes in each end of all the boards approximately 3/4” from the end of the board. See Figure 2 below:

Step Five:
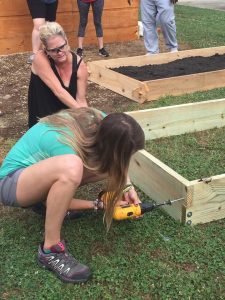
Afer holes have been pre-drilled place one washer on 4” lag screw and drive them through the pre-drilled holes. 16 lag screws will be inserted with 4 on each corner.
Step Six:
Position bed in a location that receives at least 6-8 hours of direct sunlight on a North-South axis.
Happy Raised Bed Gardening!
